The idea of levelling your new travel trailer may seem daunting, but you can get this done in 12 easy steps. The process is worth mastering as it’ll mean a more comfortable stay for you and help equipment such as your refrigerator run more efficiently.To level your travel trailer left-to-right, use leveling blocks under the tires to raise the trailer on the left or right side as the slope demands. For front-to-back leveling, use the trailer’s A-frame jack to raise or lower the nose of the trailer.There are a range of options for leveling blocks, from the simple to the advanced. But we’ll show you those options too. As well as a few other accessories to consider.
How to level your travel trailer in 12 easy steps
What you’ll need?
- Leveling blocks – these can be as simple as wooden boards, or as sophisticated as self-leveling systems. More on those in the next section
- Bubble level – we use a 6” level, it saves space but is still accurate enough
- Tire chocks
- Wooden blocks – for under the foot of your A-frame jack
Get to know your site
- Walk the site –
- How close to the hook-ups do you need to be? The length of your electric cable, water pipe &/or sewer hose will determine the maximum distance you can be from these hook-ups
- Check the slope. Look for the direction where the slope falls away. Even on apparently level pads, there can be a slight slope. The sections below on Leveling left to right and Leveling front-to-back explain how to level based on the site’s slope.
- Other questions? Make sure to leave room for your slide-outs. Will a certain orientation give you a great view? Will your front door open next to a potential puddle? How close are the neighbors?
Don’t be tempted to rush this step. Good decisions now will save you time and make your stay more comfortable.
- Decide where you’ll park the trailer. Park the trailer in the chosen spot and look at the resulting tilt. You can check with your bubble level too. Is the slope what you expected? This will confirm which side will need leveling blocks under the tires. We usually place the blocks next to the tires first, drive the trailer forward a little, slide the blocks into position, then roll back onto the blocks.
Leveling left to right
- If the site tips to the left or right, then you’ll need leveling blocks under the tires. If the slope falls away on the left side of the trailer, for example, you’ll want to add leveling blocks under the left-side wheels. Position the block(s) where you want the tires to end up. You may need to create a ramp with several blocks if the slope is substantial.
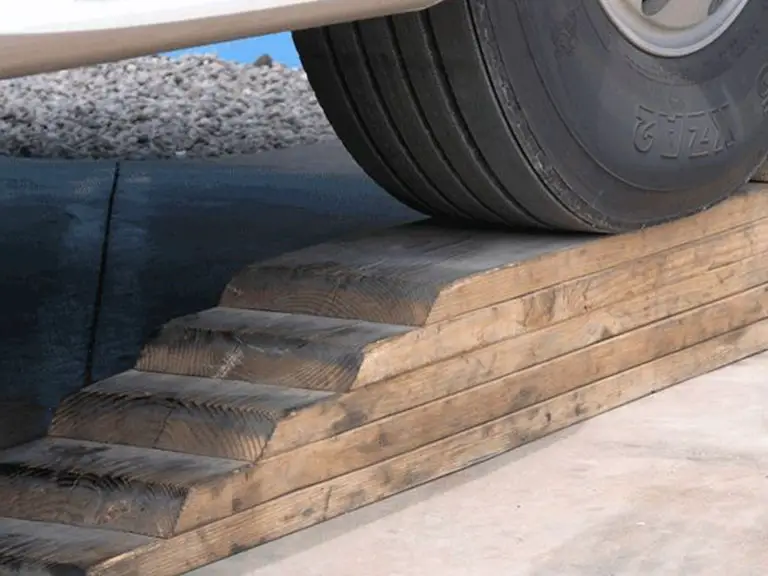
- With a partner giving you directions, slowly drive the trailer back (or forward) onto the leveling blocks. Go slowly and be ready to break as soon as the positioning is correct. You can do this step on your own, but it might take a few tries going back and forth to get the right position.
- Check the trailer is level using a bubble level. The aim is for the bubble to be in the middle circle of the level. Check the level vertically against the side of your trailer. If the bubble moves away from the trailer, that side of the trailer is higher than the other side. The rear bumper of the trailer is a good location for a horizontal check too. If the bubble slides towards the trailer’s left, then the left is higher than the right, for example.

- Adjust as needed. Do you need another block? Or to remove a block?
- Once level, you’ll need to chock the wheels and prevent any potential rolling of the trailer.
- After that, you should unhitch from your towing vehicle.
Leveling front-to-back
- To level front-to-back, you’re going to use the trailer’s A-frame Jack
- Add wooden block(s) beneath the foot of the jack for more stability or if the ground is soft
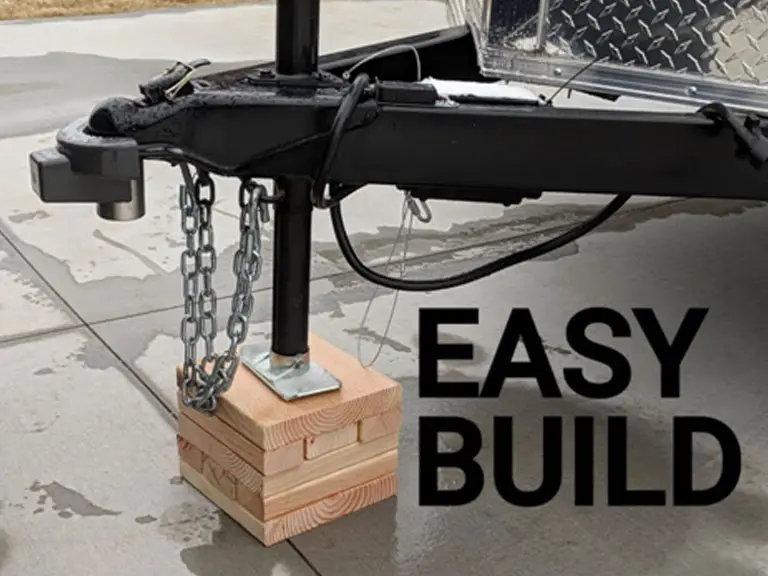
- If the trailer is pitching forward, then you’ll want to add height to the vertical jack support. Or reduce the height if the trailer pitches towards the back. Use the jack’s motor to lift or lower the jack. Or if you have a manual jack, turn the winder to move the jack up or down.
- Check the trailer is level using the bubble level. If you’ve moved leveling equipment out from the under-trailer storage, this can be a good place for the bubble level. Otherwise, open the trailer door, and use the floor just inside the door. Adjust the jack as needed.
Different Types of Leveling Blocks
Leveling blocks come in a host of different styles. These range from simple weather-treated wooden boards through to electronic automated leveling systems. Take care to purchase a system that is sufficient for the weight of your loaded trailer.
Dig a Hole
If you are boondocking, then an option may be to simply dig a hole to lower one side of the trailer. Not an option on established campsites though.
Wooden Boards
We use a range of 6” by 2” boards of differing lengths. We can build a ramp as needed for more height. Make sure you get weather-treated boards that are smoothed, not rough cut.
Building Block Levelers
Building block levelers are one step up from wooden blocks and look like flattened LEGO bricks. Add blocks as needed to create the correct height.
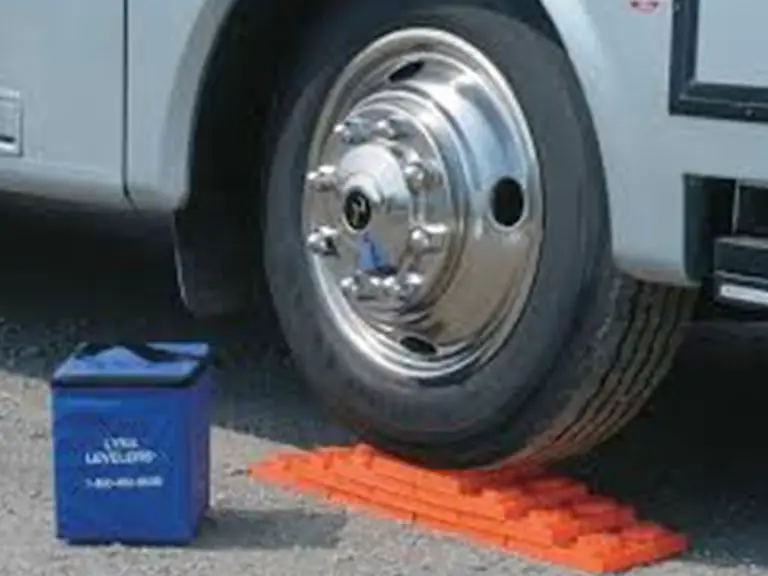
Leveling Ramps
The advantage with ramps is that you don’t need to estimate the height needed – as long as you stay within the range of the ramp, typically 4” of height. Drive slowly onto the ramp as your helper simultaneously checks the vertical level on the trailer. These blocks are probably the easiest option if you are on your own, but you’ll still have to leave your vehicle and check the vertical level.
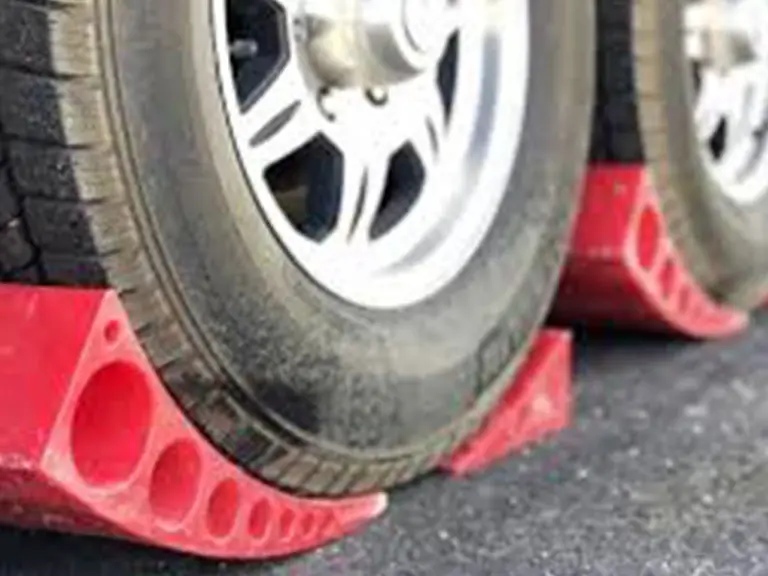
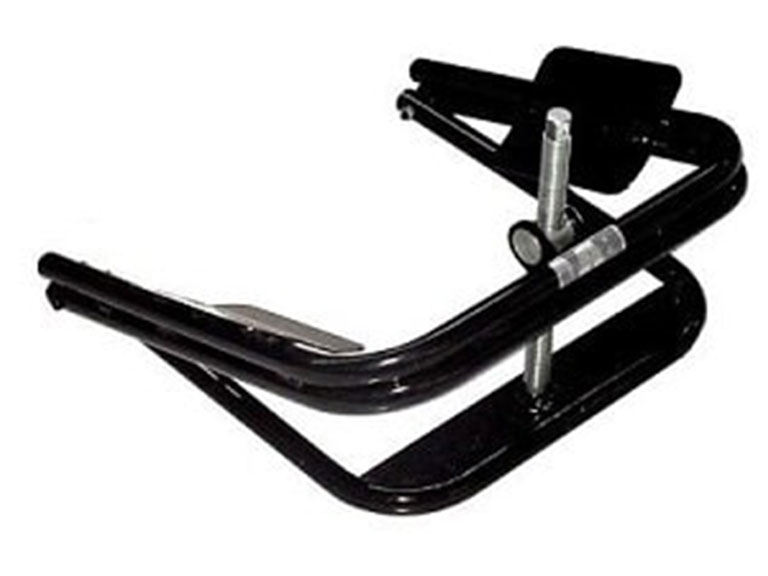
Light Trailer Tire Leveler
This is only an option for light trailers, up to about 1500lbs per axle and 15” tires. It works rather like a conventional jack; you wedge the jack next to your tire and ratchet upwards.
Electronic Automatic Leveling Systems
These are advanced systems that basically take all the work out of leveling. Typically 4 jacks are installed on the trailer to replace the role of both the blocks and standard stabilizers- all controlled from a touchpad or your ‘phone.
The Role of Your Travel Trailers Stabilizer Jacks
The four small scissor jacks at the corners of your travel trailer are there to stabilize the trailer after you’ve leveled. They should not be used to push the trailer into a level position. Their role is to lessen the wobble on a trailer that has already been leveled.
Other Accessories to Consider
Fitted Bubble Levels
You can fit bubble levels on to the outside of your trailer that will help speed up the process slightly.
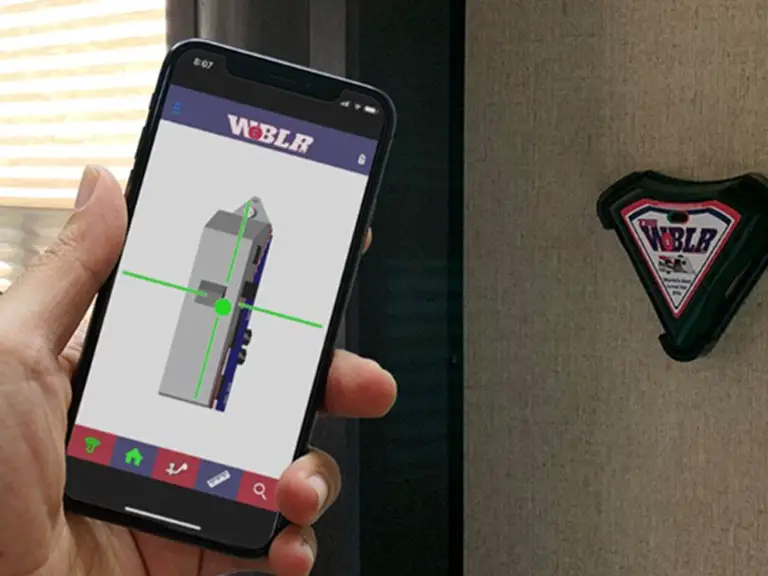
Electronic / App Levels
There are also electronic levels that will communicate with an APP on your phone to confirm that your trailer is level.
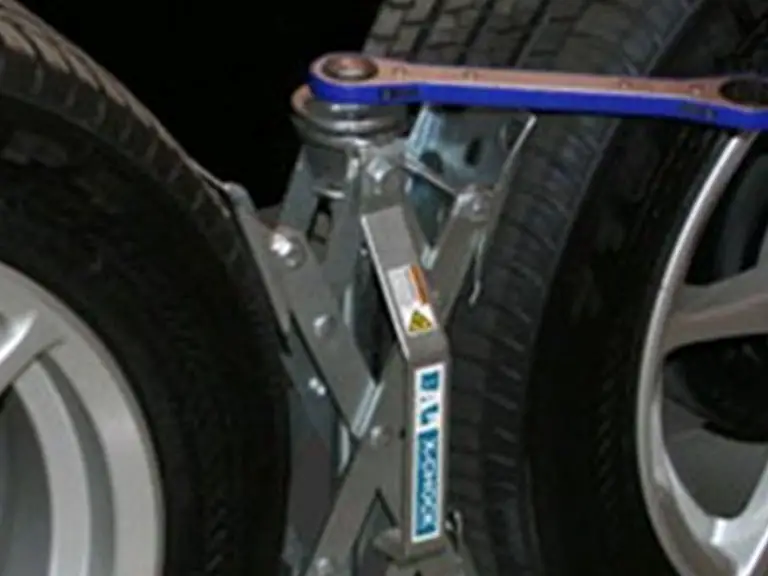
Tire Locking Wheel Stabilizer
As the name suggests the wheel stabilizer’s function is to provide an extra brace between two tires and adds to the stability of your trailer. It is not technically part of the leveling process. However, we’ve found that our trailer just maintains level and stability better when we add this device after stabilizing the trailer.
Related Questions
Leveling for a Trailer with a Slide-Out
All the leveling and stabilizing needed should be done before extending any slide-outs from your trailer. Sometimes a slide-out can move the left-right level slightly. As you get used to leveling your trailer, you might find a pattern and can set the initial leveling slightly higher or lower as needed.
Should a Travel Trailer be Level when Towing?
It is recommended that your trailer is level when traveling as this reduces sway, helps stability, assists with braking performance, and is simply safer. Use the hitch to raise or lower the trailer as needed.
Leveling a Travel Trailer and Deciding on the Best Leveling System for You
As you can see, there are a host of options when it comes to equipment to help you get your travel trailer level. Overall you’ll be looking for a balance between durability, price, weight requirements for your trailer, and ease of use.
The process to level your travel trailer is always the same though:
- Check the site
- Add blocks to level left-to-right
- Chock the tires then unhitch
- Level front-to-back with the front jack


