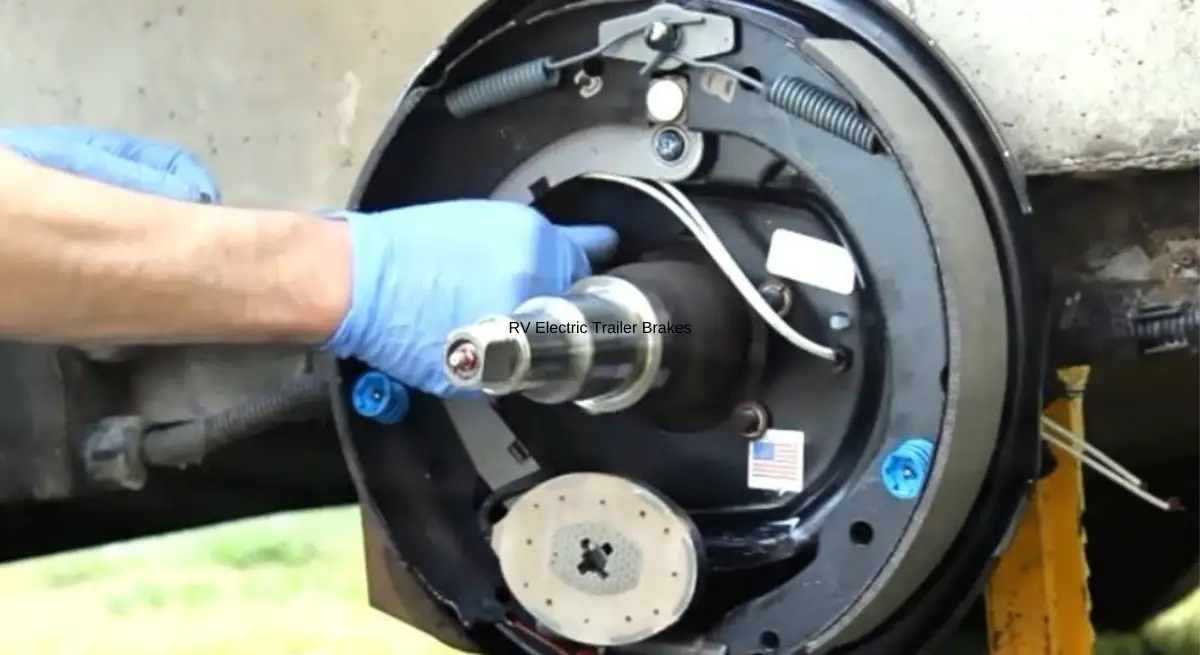
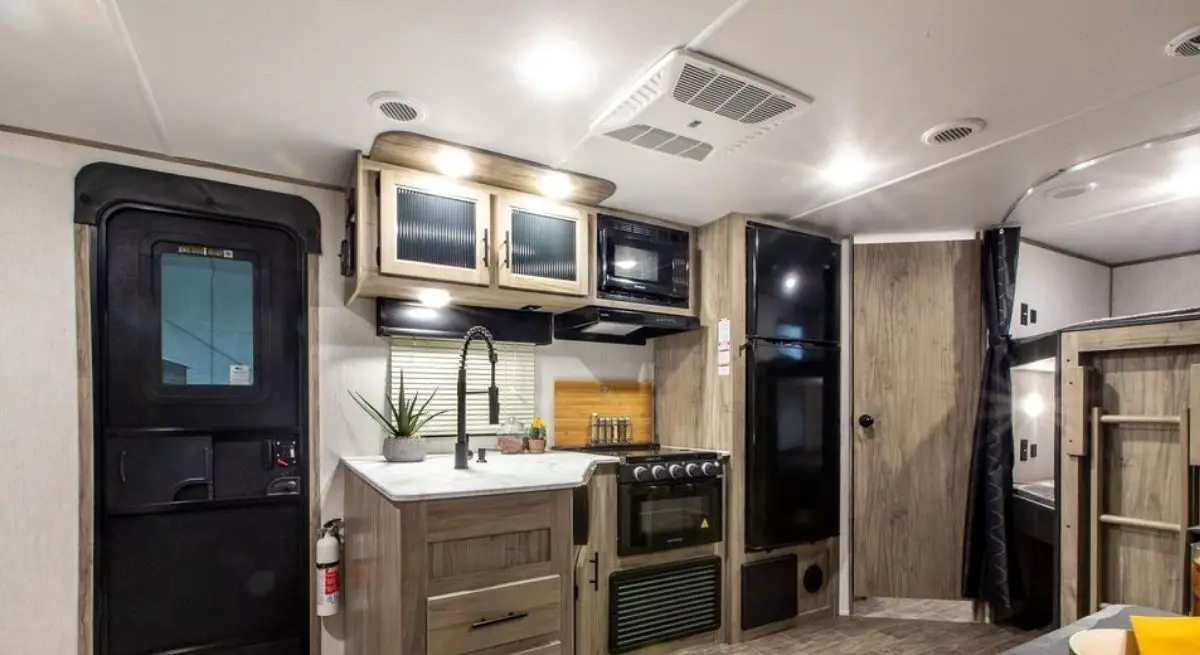
Insulating the underbelly of your camper where possible has benefits in summer, in keeping cool air in, as well as in cooler camping months with keeping the warm air in your RV.
Even if you do not camp in cooler months, an insulated floor of your camper reduces the energy costs of operating your air conditioner in hot summer weather, since cool air falls and warm air rises.
In the shoulder seasons of spring and autumn, insulating your RV floor does two things: it reduces the risk of having water lines freeze during cold nights, and it provides a more uniform feeling of warmth underfoot during those periods since less heat migrates to the outside. As well, an insulated floor means lower propane costs to heat your unit.
Most RVs already have rigid insulation as part of the structural integrity of the campers, since the rigid insulation between floor joists helps to keep the floor more inflexible and solid to walk on. This, in turn, allows manufacturers to reduce the thickness of flooring underlay material and, consequently, reduce the weight of your camper. But this insulation is minimal, with R-values less than R-15.
Water lines and black and grey water tanks should be protected from extreme cold during the shoulder seasons for camping. Replacing any water lines and tanks can be difficult and, consequently, costly. While insulating may be tricky for some vehicles, due to the number of hoses, outlets, and connections underneath, it remains a reasonably easy task for most handypersons. The cost is nominal, and the rewards are worth it.
For campers thinking about RVing in the winter, the Recreational Vehicle Industry Association has several ideas about weatherproofing and insulating your camper before you go.
Does Insulating The Underbelly Of Your RV Keep It Warm Or Cooler?
Insulating the underbelly of your camper primarily functions to keep your RV cooler in summer, but also helps to keep it warm on cooler days. Since insulation provides neither heat nor cooling, its function is limited to maintaining the temperature differential on either side of the insulating barrier.
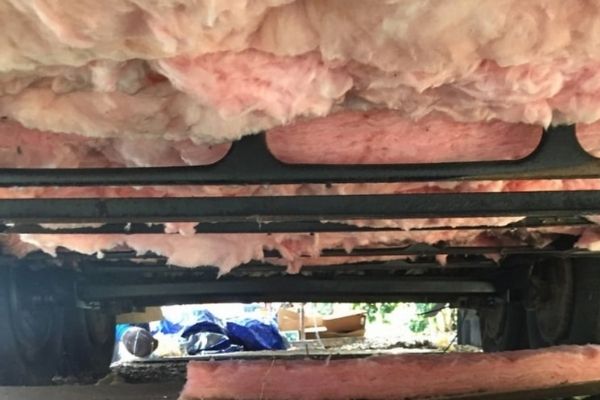
In other words, if it is warm outside, insulation helps to keep the camper cooler than the outside air. If it is cool outside, the insulation serves to keep the inside of the trailer warmer.
This applies to the insulation in the walls and roof, as well. The insulation R-value of ceilings, walls (as described in RVChronicle.com), and floors is the primary determinant of how effective the insulation is at keeping the inside of the unit warm or cold.
Should You Seal The Underbelly Of Your RV?
Sealing the underbelly of your RV is vital to prevent rodent and insect infestations and damage. This is in addition to insulating your RV floor. It is particularly true if your unit is stored outdoors in winter.
Squirrels, raccoons, mice, and even gophers look for sheltered places to spend cold winters and an enclosed underbelly, with openings, offers that haven. Once they are inside the underbelly cavity, smaller animals often will gnaw their way into and around the openings for water lines, and electrical and sewage drainage pipes, if they are not properly sealed, as well. Insects, from beetles to hornets, capitalize on tiny openings to creep in to overwinter.
The liners of some campers are made of corrugated plastic called coroplast. If this is broken, damaged, or has holes in it, aside from the infestations of bugs and rodents that may happen, water while you are towing may splash up and cause damage to the underside of your unit.
How Do You Insulate Under An RV?
You complete the insulation and sealing of your camper underbelly in much the same way that you insulate a house.
There are four steps to insulate your RV underbelly.
- Caulk around smaller openings and protrusions.
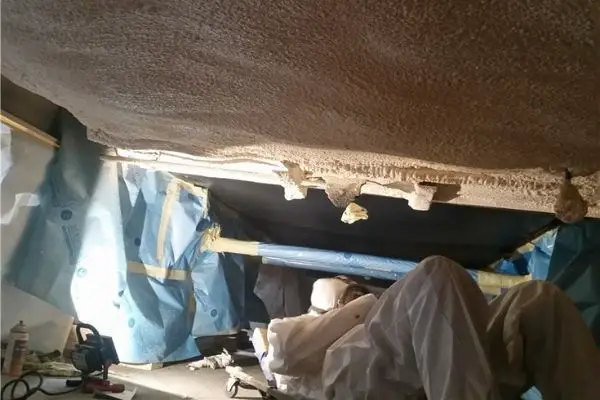
- Use spray foam in hard-to-reach spots and larger holes.
- Fill the cavity with fiberglass or rigid insulation
- Re-secure the tarpaulin or undercover that is sealed to the bottom of the unit.
In addition to the three types of insulation that you might apply, most trailers already have rigid insulation between the floor joists.
If you opt to add rigid insulation under your trailer, cut it carefully into pieces that fit tightly around all protrusions, and be sure to seal around the cut insulation with spray foam. Besides making the underneath more impenetrable, this spray helps to keep the rigid pieces in place. Once you install the insulation, you may also use rolled foil insulation between your outer membrane and the underbelly.
The last step for finishing the underbelly insulation project is to attach the final membrane. Most RVs have a felt and fabric undercover, or a lightweight and flexible undercover, such as Darco brand belly fabric. When pulling back that cover to insulate, be sure not to damage it.
However, even once you have re-installed this cover, consider applying a semi-porous membrane on the outside of that cover to compensate for any tears or “bald” spots that may have developed.
The membrane should be semi-porous, allowing moisture to wick away to the outside while preventing water from entering since many campers spend months in humid environments. The temperature differential between inside and outside air may cause condensation, and floors that are sealed with plastic or watertight barriers are more likely to develop mold.
A few do-it-yourselfers opt to use coroplast. While it is used by many campers, it has drawbacks. First, it is relatively inflexible and may puncture easily when stones kick up while traveling. If it comes loose at any point, the wind blowing underneath while on the road may tear the coroplast from the trailer underbelly. For those reasons, make sure you secure the coroplast using large washers where screws are installed, sealing holes around openings carefully, and taping all exposed edges.
If you use fixed-in-place insulating options like rigid or spray foam insulation, you will limit future access to the electrical and water lines, shutoffs, valves, and connections. When upgrading your insulation, think about whether you will need to reach those items in the future. If so, look at using fiberglass batts around them, or installing access points in the coroplast or undercover.
With coroplast panels, you may cut a trap door opening at the access point, then tape it securely with duct tape to keep pests out. With fabric undercovers or liners, ensure that you can seal the unit snugly. Velcro entirely around the edge of the opening, then makes a lid that covers the entire hole. This provides the best way to provide a tight, rodent, and insect-proof access point.
Can You Use Spray Foam On The Underbelly Of Your RV?
Spray foam is recommended for use around protrusions, large openings, and hard-to-insulate areas, and is ideal for use on camper underbellies as it does not settle when the trailer is being moved like fiberglass insulation can.
Caution should be exercised when applying spray foam or rigid insulation, both of which generally are flammable. Be sure that you are not applying the insulation too close to very hot pipes, such as exhaust systems from RV engines. Even fiberglass insulation should not be applied directly in contact with exhausts or near the outlet vents for propane appliances, water heaters, stoves, or furnaces.
Make sure there is no dirt or debris where you spray foam, as this will create gaps and also may not adhere properly to the surface. Where rodents are prevalent, consider using pest-blocking spray foam, or using fragments of steel wool around openings. with spray foam impregnated into the wool. Tomcat, Great Stuff, and Johns Manville offer rodent-proof spray foam.
Are There Alternatives To Insulating An RV Underbelly?
While the best permanent solution for insulating the floor of your RV is to install the insulation directly to the underbelly and chassis, you may choose to build a wooden skirting and insulate around the perimeter of your trailer.
This is viable when your trailer will remain parked in one spot, such as in winter camping. If you choose to only apply limited insulation to protect your water lines, then flexible, rubberized foam pipe wrap or foil pipe wrap around these lines is an option.


