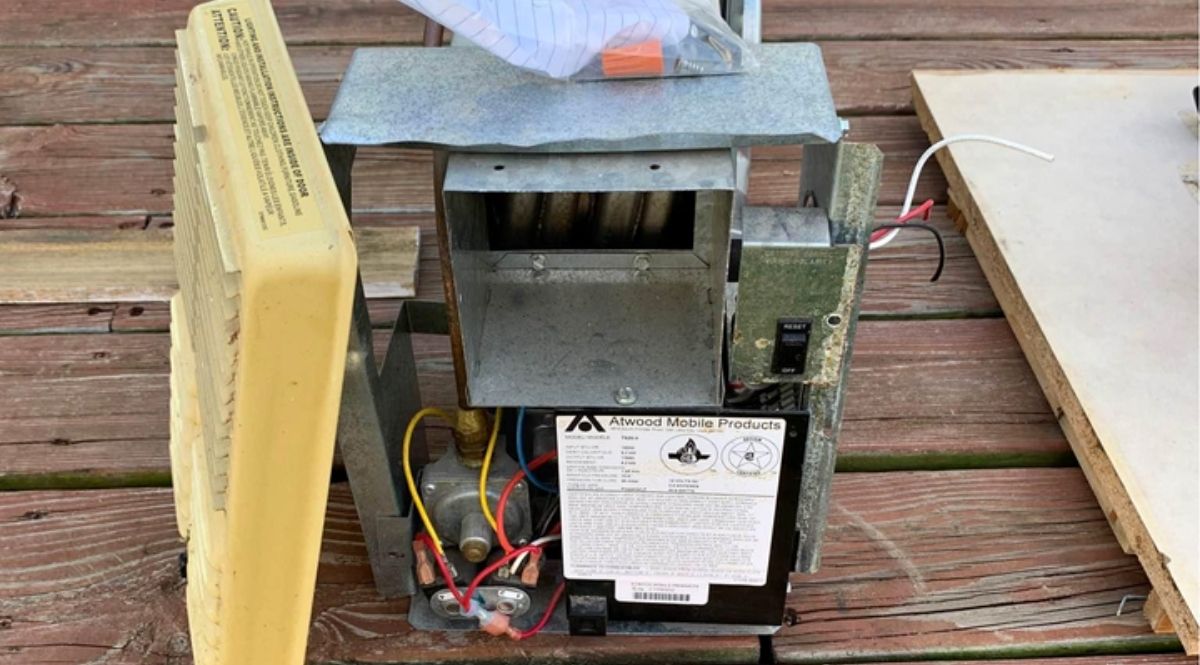
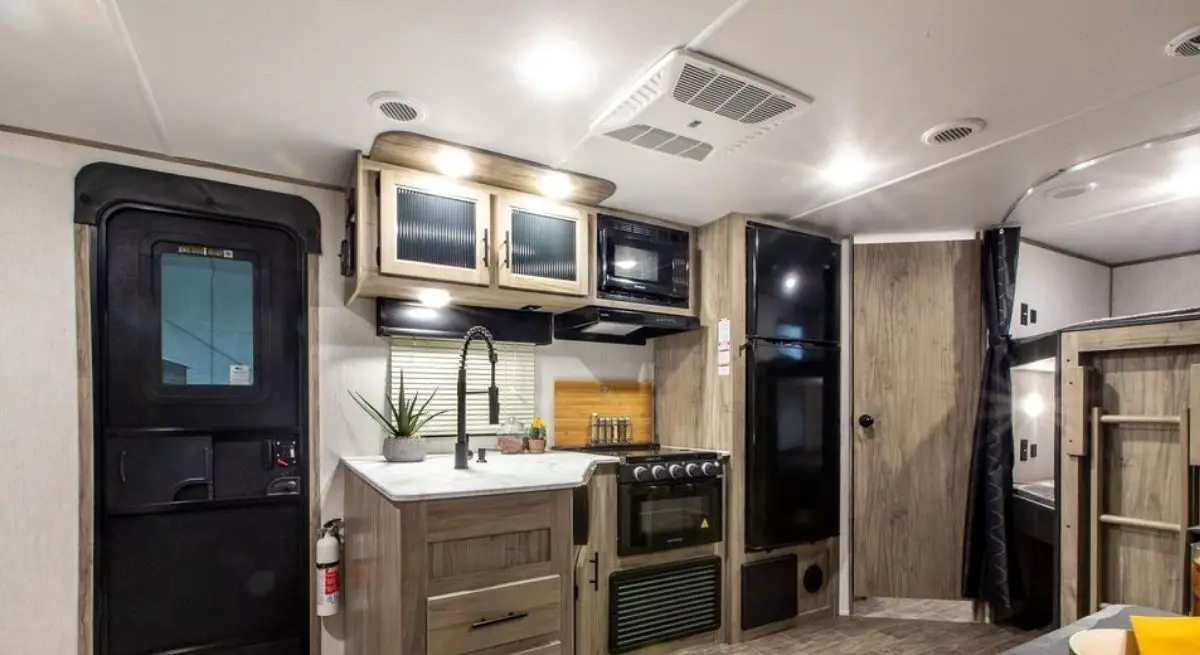
RV furnaces are a great addition to any RV that will allow you to use your RV in colder weather. They are usually self-contained units that will safely keep your rig comfortable as the outside temperatures drop. Fuel and power for the RV furnace are provided by your existing propane and 12V DC battery power system.
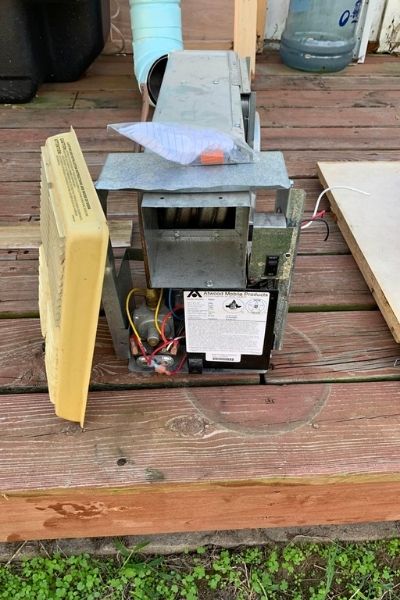
Not only do they keep you comfortable, but they can also help prevent cold weather RV issues like frozen interior water pipes which can cause serious damage to your RV. To get the most out of your RV furnace check out How to Do RV Propane Furnaces Work & How To Keep Them Hot!
As with any RV component or appliance, RV furnaces will require regular maintenance. Here are answers to 9 common questions asked about RV furnace maintenance. For more information on solving RV furnace issues see our article RV Furnace Issues Solved.
Can A Dehumidifier Cause Problems In Your RV Furnace?
Using a dehumidifier in your RV can be a necessity to control moisture during cooler weather. Fortunately, using a dehumidifier will not cause problems in your RV furnace. The combustion process that creates the heat inside your furnace occurs in a combustion chamber which is separated from the inside air of your RV.
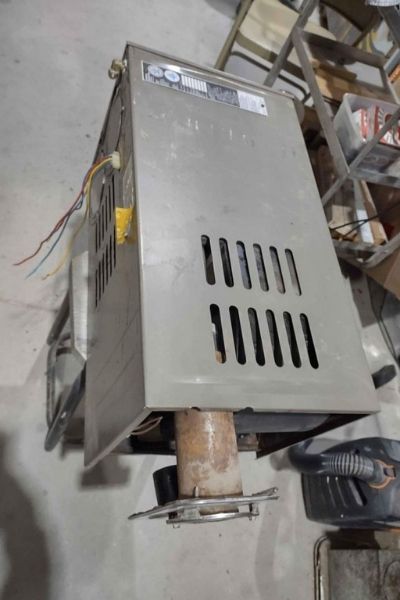
This separation greatly enhances safety by preventing the toxic byproducts of the combustion process like carbon monoxide from mixing into your RV’s interior air space. The heater flame in the combustion chamber heats up a heat exchanger.
The RV’s interior air is then passed through the heat exchanger and back into the cabin at a warmer temperature. Because the two sources of air never mix, the use of a dehumidifier won’t affect the combustion process.
Likewise, the body and electronics of the furnace are not negatively affected by the use of a dehumidifier. These parts of the furnace are often located where in the cabin air space. Using a dehumidifier can actually be beneficial to these parts of the furnace.
The cabin air in an RV can become exceptionally humid, particularly in colder weather. It is during these times that condensation can form on walls and windows, causing moisture damage in your RV. Your furnace is typically located in a spot with direct access to outside air which can make it cooler than the cabin air.
This can promote condensation formation on the critical parts of the furnace, which can, in turn, lead to damage from water and corrosion. Using a dehumidifier will help keep the humidity levels in check and minimize condensation formation within your furnace which will prevent condensation-related water damage from occurring.
What Size Propane Hose Does An RV Furnace Use?
The propane plumbing in an RV can include hoses and piping of various sizes. Starting at the propane tanks, the flexible pigtails connecting the propane tanks to the regulator have a ¼” ID each. From the regulator, a 1/2″ ID flexible hose usually runs to a ½” ID black pipe which runs the length of the RV.
This is not always the case and your specific RV may be different. That ½” ID black pipe will contain inline connection T’s which then feed the stove, furnace, water heater, and other propane-fueled accessories your RV may have. The supply lines to those appliances are typical ¼” ID and can be a flexible hose or rigid copper.
Remember that there are high pressure and low-pressure sides to your propane system. Any hoses, pipes, or plumbing between your propane tanks and the regulator will be high pressure. Make sure when working on the high-pressure side that you use appropriate high-pressure components including high-pressure thread sealant to make leak-free connections.
Do RV Furnaces Use The Same Duct Hose As Your House?
Many RV furnaces use 4” duct hoses like those commonly used in residential applications. Ducting methods and requirements can vary by furnace manufacturer, RV manufacturer, specific furnace model, or any combinations of the above. Always consult your furnace and RV manuals for specifics on proper furnace ventilation.
How Do You Test Your RV Furnace Circuit Board?
Testing your RV furnace circuit board can be an easy DIY project. Before getting started, be aware that your RV furnace runs on propane fuel and electricity. These both pose potential hazards on their own and those hazards multiply when you are dealing with them together. Make sure your propane is off and that your propane lines are properly purged prior to working on your furnace. Also, take all necessary precautions to avoid electrical shock.
Tools Required
To test the circuit board you will need the following:
- A tool like wrenches, screwdrivers, and Robertson drivers (square drive bits).
- A digital multimeter
- Furnace wiring diagram.
Some furnaces will have a wiring diagram on the inside of the main access panel. If yours does not, you will probably be able to find it in your owner’s manual or online from the manufacturer’s website.
Safety Precautions
After completing our safety precautions we can get started by gaining access to the board and furnace internals. Those precautions include:
- Disconnecting all power sources to the RV and furnace
- Turning off the propane and bleeding the lines
Depending on your setup that may be as simple as removing the exterior panel or as difficult as completely removing the furnace from the RV. If it’s the latter then you’ll need to set up temporary power and thermostat connections if you had to disconnect the RV power and thermostat in order to remove the furnace.
How Do You Know The Circuit Board Is Working?
The goal in testing the board is just to make sure it is behaving correctly at the major interfaces. In other words, we want to make sure the blower motor is getting power when it should. We are not testing individual components like resistors, capacitors, and such.
While you can do that with a multimeter, those procedures are beyond the scope of this article. Once you have access to your board you’ll want to start with a visual inspection. Look for areas with notable burns or signs of arcing. If all looks good then we can move on to confirming the board is getting power.
To do this, set your multimeter to read volts DC in the 12V range and locate the positive power in the terminal on the board. Touch your positive test leads to that terminal and the negative test leads to the ground. You should see at least 12V.
If you do not, you’ll want to troubleshoot your power source. Next, you’ll want to test the blower circuit. Touch the positive test lead to the positive blower terminal and the negative test lead to the ground. Switch on the thermostat to turn the furnace on. You should see a voltage jump to 12 volts indicating the fan is turning on.
If it does not, you may have a faulty relay or board. Next, you’ll want to test that the sail switch is closing correctly. Touch your positive test lead to your return line from the sail switch at the board and you’re negative to the ground. This should also read 12V when the thermostat is calling for heat. If you are not getting proper voltage then the sail switch may be malfunctioning or you may have a faulty board.
Can You Replace A Sail Switch In Your RV Furnace?
Yes, you can replace the sail switch in your RV furnace. The sail switch is the switch that verifies proper airflow through the combustion chamber before the burner ignites. If there is insufficient airflow due to vent blockage, a failed flower fan, low battery power, or for any other reason then the sail switch will not activate to allow the burner to turn on.
The difficulty level for replacing a sail switch can vary significantly depending on your specific furnace, your RV, and how the furnace is installed. The switch is typically attached to the exhaust fan blower housing. You’ll need to gain access to that area to make the repair.
In some cases, that’s as simple as removing the exterior furnace cover and replacing the switch from the outside. In other cases, you may need to remove furnace case panels from the inside of your RV. In the worst cases, you will have to remove the furnace from the RV, replace the switch and then reinstall the entire unit.
Does A Vented RV Furnace Add Moisture In The Air?
A vented RV furnace does not add moisture to the cabin air in your RV. While carbon dioxide and water vapor are the two major byproducts of propane combustion, that combustion occurs in a combustion chamber that is kept separate from the cabin air. The combustion chamber air is actually vented to the outside of the RV, taking the carbon dioxide, water, and dangerous byproducts like carbon monoxide with it.
Are RV Furnaces A Standard Size?
RV Furnaces come in a variety of sizes and outputs which allows you to choose the best size for your specific RV. How units are physically sized can depend on the manufacturer. Some manufacturers will produce a line of furnaces with the same physical dimensions but with different BTU outputs. Others produce units that get physically larger as their output ratings increase.
The amount of heat any given furnace can produce is measured in British Thermal Units (BTUs). The higher the BTU rating, the more heat the furnace can generate. BTUs rating for RV furnaces starts at around 12,000 BTUs, which would work well for small travel trailers or pop up. They go up around 40,000 BTU which is what you would install in a mid-size to larger RV.
To determine how many BTUs you may need you can reference this handy furnace size calculator page. This is for residential applications which will have better insulation than what most RVs have so considered the values produced here to be a bare minimum for RV use.
RV size isn’t the only consideration when sizing a furnace. Larger furnace sizes will heat your RV more efficiently and they will handle colder temperatures better.
Can You Shut Off Your Propane Just To Your RV Furnace?
No, your RV furnace should not have a separate shut-off for the propane. The gas supply to the furnace is controlled at two points. The first is at the propane tanks which will have shut-off valves built-in. Turning the gas supply off here will cut the flow of propane to the entire RV.
The second control point is at the gas solenoids within the furnace itself. These are electronically controlled and are only activated to allow gat to flow through the furnace when specific safety requirements are detected by the furnace control board.
Is It Difficult To Replace An RV Furnace?
Replacing an RV furnace is not a difficult task. However, it does involve some critical steps that can cause serious safety issues if done improperly. This includes disconnecting and reconnecting the gas and electrical supply lines and making sure the exterior vent lines are properly installed. If you are not 100% confident in tackling these things then you are better off leaving the job to a professional.
There are usually three components to an RV furnace. The furnace itself, which is usually a completely self-contained unit in one box, a faceplate for the exterior of the RV, and some sort of ducting to connect the furnace to the faceplate. The specific process to replace the furnace will depend on how it was installed originally.
Some will require the removal of the exterior cover, which will give you access to the furnace itself for removal. Others will be removed from inside the RV while leaving the exterior faceplate in place. Regardless of the specific method, the overall process is basically the same. Turn off the gas and electric supplies to the unit.
Locate the connection points for the gas and electric on the furnace unit and disconnect them. Remove any screws securing the unit in place and pull the unit out. Units that are removed from the inside may also have ducting connections to the outside faceplate which will need to be disconnected prior to removal. Installation is basically the reverse of removal.
When installing the new unit it is critical to check for propane leaks. Even small amounts of propane will pose a severe risk of fire or explosion. There are several methods for doing this but the best option is to use an electronic propane detector. These are capable of detecting extremely small leaks that other methods may miss.

