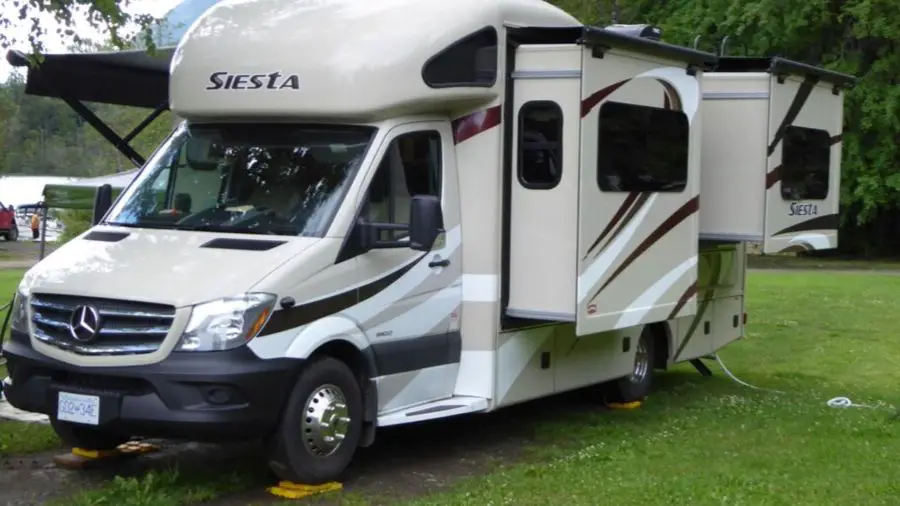
When I got our motorhome, I never thought much about leveling our Motorhome when we went camping. However, to do so is more than just having my world being in status quo, things like the fridge and the sensors in the water tanks (fresh, dark & grey) need it too. I have outlined the 7 steps to level a motorhome like a pro, with blocks, so life can be balanced. I will also share other ways to level your motorhome quickly. With the motorhome balanced, I will then move on to the other 3 options that one might choose other than blocks to achieve the ends.
Here are the items required to level a Motorhome
- Blocks/Wood Blocks like 2×6 by 20 inches long
- A 2 to 3 foot Level
- Wheel chock blocks
- A Partner to drive the vehicle
- Some good old-fashioned communication & patience
Other stuff you might need:
- Scissor Jacks/Stabilizer Jacks with Crank or Drill & Socket
- X-chock tire locks – If you have dual Axle wheels
Additional items to make life easier, but not necessary
- Steps outside your door
- Glow stuff for the side of your steps to see at night
Here are the 7 steps to level your Motorhome like a pro ( This is really the most efficient way that I have found)
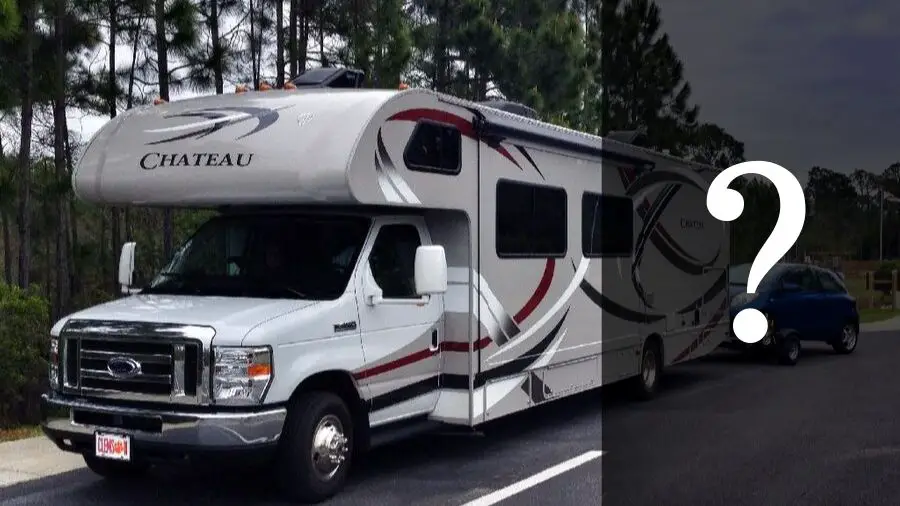
I will be outlining how to level a Class B/C motorhome. Class A’s have their own challenges that are different and won’t be covered here. There are really two types of campsites that you will encounter, the drive through or back in.
Drive Through versus a Back in Camp Site
Drive Through
The Drive through is exactly as it sounds and it is probably the easiest of them all. The Stall looks very much like the stalls in a parking lot of a Big Box store, but longer to account for the size of many Motorhomes and Trailers. They are either gravel or paved. One just drives through and stops where the hooks ups line up where they are on your Motorhome. Then you leveling.
Back in CampSite
This type of campsite requires a little more thinking about how you might position your camper. So I have broken it down into several parts to make leveling clear.
Step 1: Preview The Area
When I arrive at a campsite, I always preview the area before we go ahead and park our Motorhome where we want it. Sometimes obstructions prevent where we want to park due to the size of our motorhome. Below are a list of the most common:
- Location of hookups
- How the trees prevent sunlight or the overhang (if you have solar panels)
- Location of the Firepit
- The slope of the campsite.
- Location of your door if you park a particular way
- How we might want to create our outdoor space
- How we might want to position the Motorhome so that we can take advantage of the View from out the window
- Will your roof solar panels get any sun? (if you are camping somewhere there is power)
After determining the limiting factors for our campsite, we then decide how we will level the Motorhome and how many blocks it will require. Will, you block the Left Side or the Right Side or will one Block the Front Tire or Block both back tires or perhaps only one tire is required. This is all dependent on where the lowest part or parts of the Motorhome is parked. Either way, you still want to choose a spot that is as close to level as you can get.
Backing Up Into Place
With a partner to help, they can guide you to back up to just to the right spot. Remember to have both windows open and any music off. Agree upon the hand signals and ensure that the driver can hear you so open your windows. Before backing up like signaling to turn to the left or to the right; hand in a fist and thumb pointing to the right or left and to stop holding your hand up with a flat palm.
Now In Place and Ready to Level
Ultimately many places will not be level and will have some kind of slope that you will have to account for the degrees of grade.
How to level a (Motorhome) RV on a slope
I will outline how to get the best leveling possible in just about any location. Really you want to choose a location that has the least amount of grade already. As leveling is really about making a not ideal location into one that is.
Step 2: Estimate How Much Is The Grade Off?
Step back and look at the area you want to park. This is where you can use your level. Hold it out in front of you so that the bubble is in the middle in a horizontal position. You can see the slope of the campsite and the downgrade slope of the campsite. Or you might just want to do it with your eye and look at the horizon of the slope of the location.

This is a Bare Campsite for demonstrating leveling
This is a bare campsite for demonstrating leveling. Notice the slight slope to the right? Having many blocks is not ideal. Stepping will be required if more blocks are used to level the motorhome and having too many blocks makes things feel unstable.

All Done!
Once you have achieved a level plane side to side and front and back, then you are good to proceed to set up your outdoor space, plug in shore power, water, and sewer. Sometimes it takes a few tries to get the ideal leveling of your RV.
Other Ways to Level Your Motorhome
Leveling with blocks has been done since the beginning of RVing. It is not really the easiest task for some people and can cause some frustration and arguments. Fortunately, In the last few years, a few products have come on the market to make this task a little easier.
Curved Levelers
There are really only two companies that manufacture these types of leveler. The Anderson Leveler and the Camco Curved Leveler. These two levelers utilize the curved design of a triangle to raise the RV and once it has achieved level, then an additional triangular block is placed under to create a block. And there you have it, instant level!
RV Electronic Level
Many of the newer Rv’s and Motorhomes come with a self-leveling device. It really is a push button and the RV is leveled using hydraulics. Either stabilizer jacks come down or scissor jacks lower to adjust the RV to level. If you have an older RV and you hate to do the leveling or have the extra funds to get one of these self-leveling systems installed, they do exist on the market. Here is a link to one that I have evaluated.
Other things to Consider when Leveling your Motorhome
After leveling, especially on sites that have a high grade, you will soon realize that the steps to the RV is really close to the ground or really far. It just gives the feeling of being off a bit. Here are a few other items that can make life a little easier.
Portable Folding Steps
I really like this folding step, that comes in handy if the grade is off and you may want to add another step, or as a replacement for the steps outside of your RV. It also works well for adding additional steps where ever you might need and folds away neatly.

Blocking the wheels
Locking your wheels in place is a good idea. Either with Wheel chocks or Wheel stops if your RV has double wheels/axles.
Permanent Levels
Having permanent levels installed makes the job of leveling easier as you don’t have to look around for them and I recommend to use these levels. I made the mistake of placing a permanent level on one of my cabinets, and as it turned out, the cabinet was not level?


Bulls Eye Level
So where you place permanent level bubbles can make a difference. The ideal locations are on the bumpers of your RV or near the wheels. And you want to make sure that the place you are placing the bubbles are going to be level when you put them on so as not get incorrect readings.
Conclusion
Leveling is one of those things that you will almost always do at some point in your camping career. It is taken for granted as you will be doing it so much each time you arrive at a new campsite. As a beginner, I did not think it was that important, but fortunately, I learned early that it is important. If anything, it keeps things from rolling off your table and counters. So the seven steps make it easy and quick.


